If you remember, our featured project from last month was this outdated lake house on Lake Monona. We focused on the structural changes that we incorporated to shift the floor plan to fit our homeowner’s needs better. This month we are going to continue in on our look at this project and present the final product!
Our homeowners for this project contacted us after purchasing a house on Lake Monona. There wasn’t much about this house that fit our homeowner’s style or preference other that it was right on the lake with stunning views of the capital skyline. They reached out to us and asked if we would be up for the challenge of touching every single square inch of this structure and turning it into the dream lake house that they envisioned when they purchased it.
They asked us to redesign the layout to have an open floor plan by shifting rooms to a more natural location that would better fit their needs. After that, they wanted to eliminate the dated finishes and update them to high-end luxury finishes. In addition, they were looking to add a significant garage addition onto the front of the existing garage and completely update the exterior, including new siding and stone, windows, doors, insulation, decking, and roof.
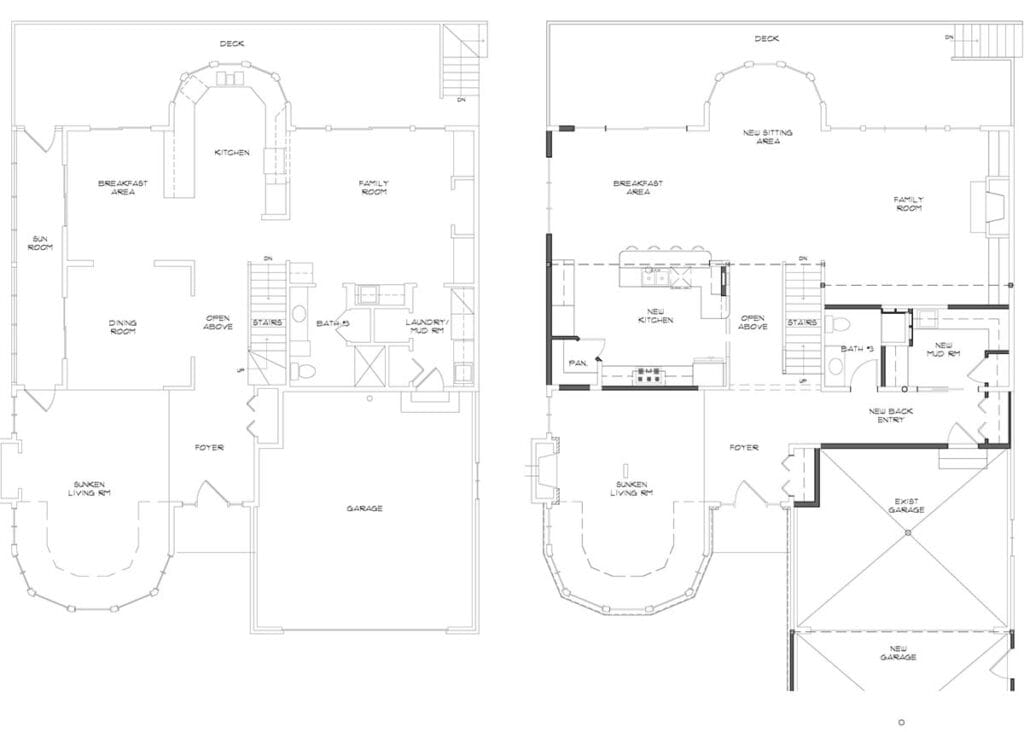
Existing Main Level / New Main Level Floor Plan
The overall plan was to make minor changes to the lower and second levels while removing a few unneeded rooms on the main level to create a space for the rooms that were going to shift location. The biggest changes were going to be to remove the formal dining room and solarium from the south side of the home and create a new pantry and kitchen in the area. A portion of the old garage would be framed in to create a new hallway so that new entries could be made for the mudroom and powder bath so that the entrances for these rooms could be removed from the main living room, creating a larger space. Finally, the laundry currently located in the mudroom would be relocated in the master closet upstairs, creating a larger mudroom.
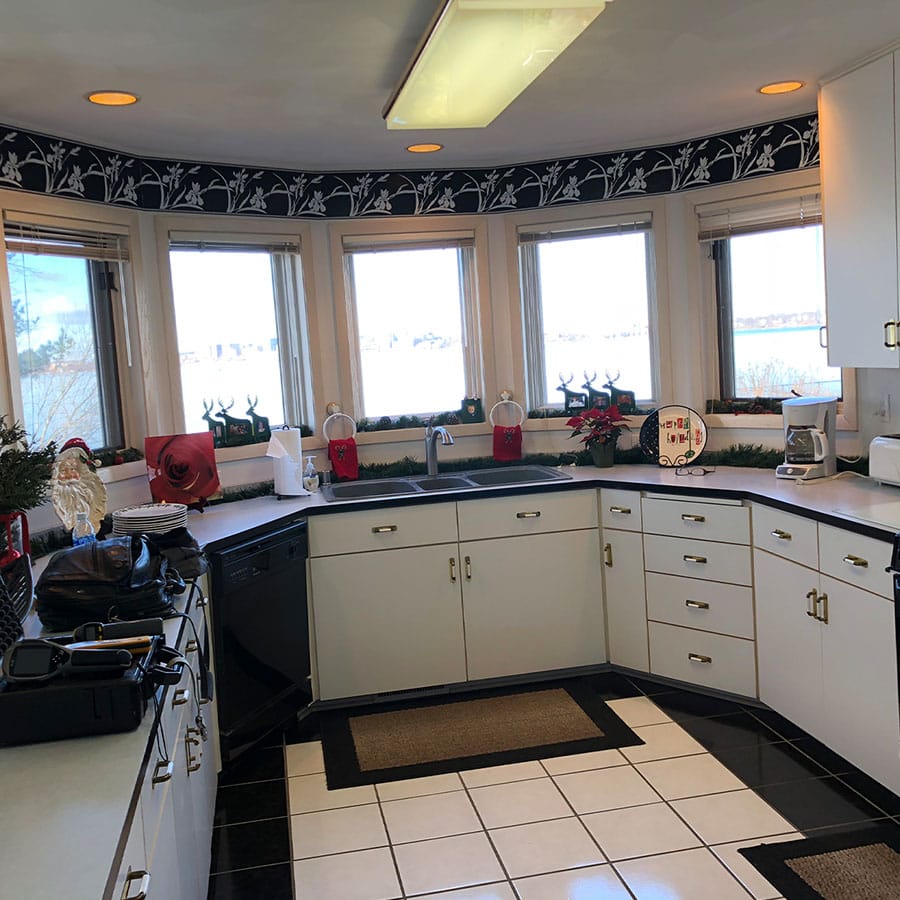
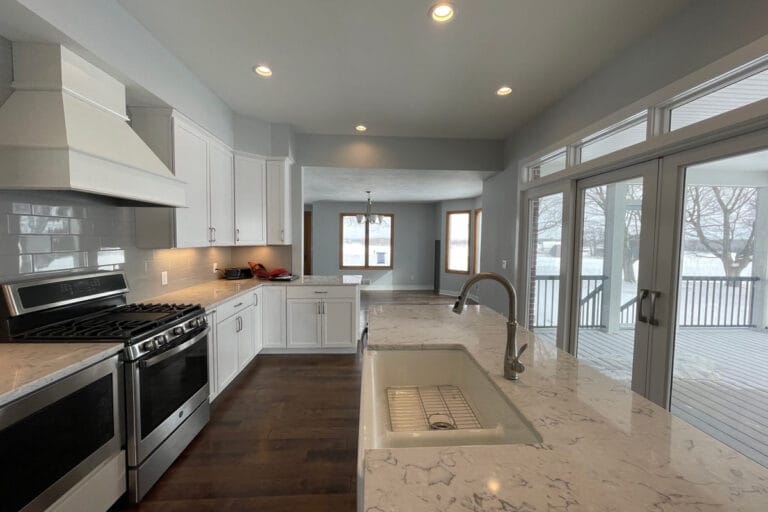
The Kitchen
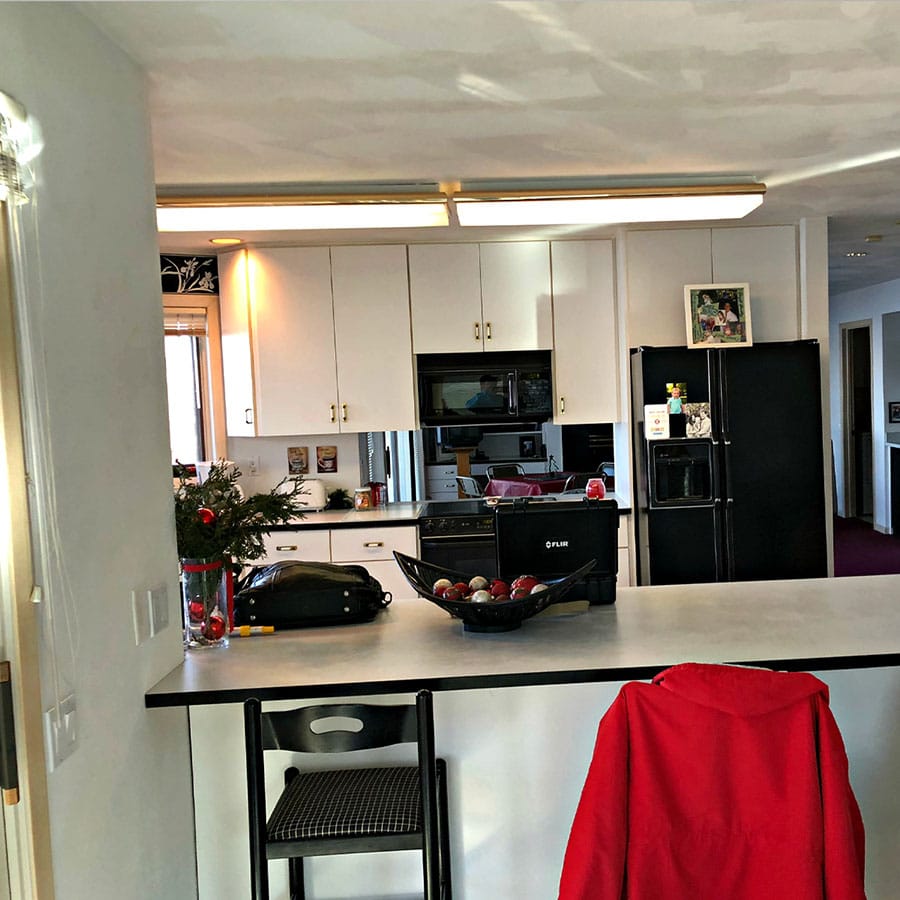
Before
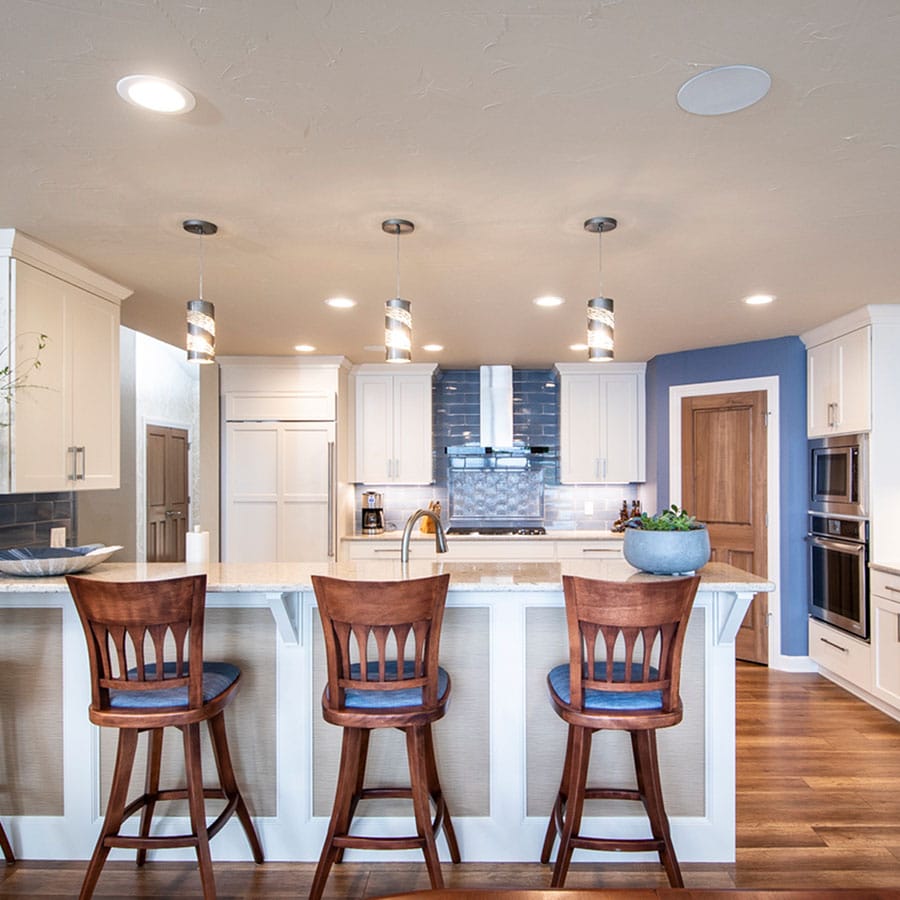
After
Possibly the most significant transformation in the house, the kitchen now stands where the existing formal dining room and solarium once stood. In addition to now having an open floor plan to the living room, relocating the kitchen to this area allowed for a much larger kitchen and the addition of a walk-in pantry. Having a new space meant having a blank canvass for the new design. The homeowners chose to incorporate an “L-shaped” peninsula with a raised bar top for a breakfast bar. This “L” provided multiple extra square feet of useable counter space to the left and right of the sink, making it a great space for preparing a meal or cleaning dishes. Custom cabinets with paneled appliances, a paneled breakfast bar with textured wallpaper panels, quartz tops, and tile splashes all complement each other with the dark, medium, and light contrasts. Redesigned lighting illuminates the space as a whole, focuses on work areas with the undermount task lighting, and the pendant lights were carefully centered on the breakfast bar panels and sink faucet. High-end appliances top off the space and transform it into a highly functional kitchen where any professional chef would be proud to make a meal.
Before
After
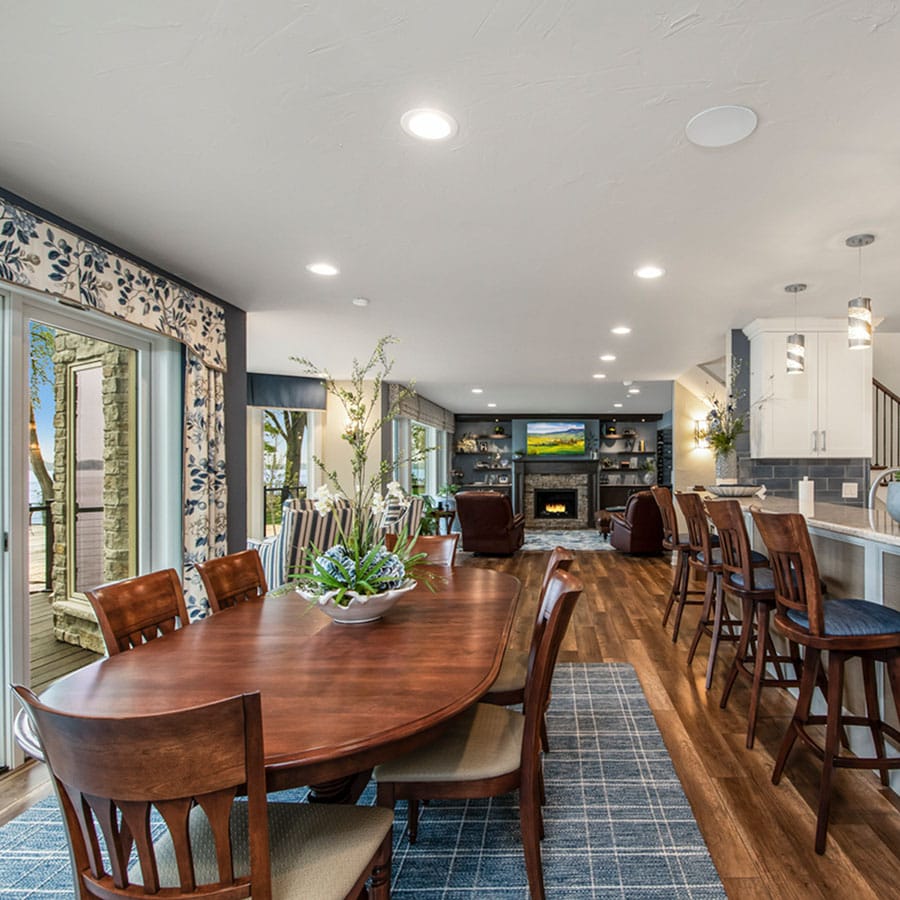
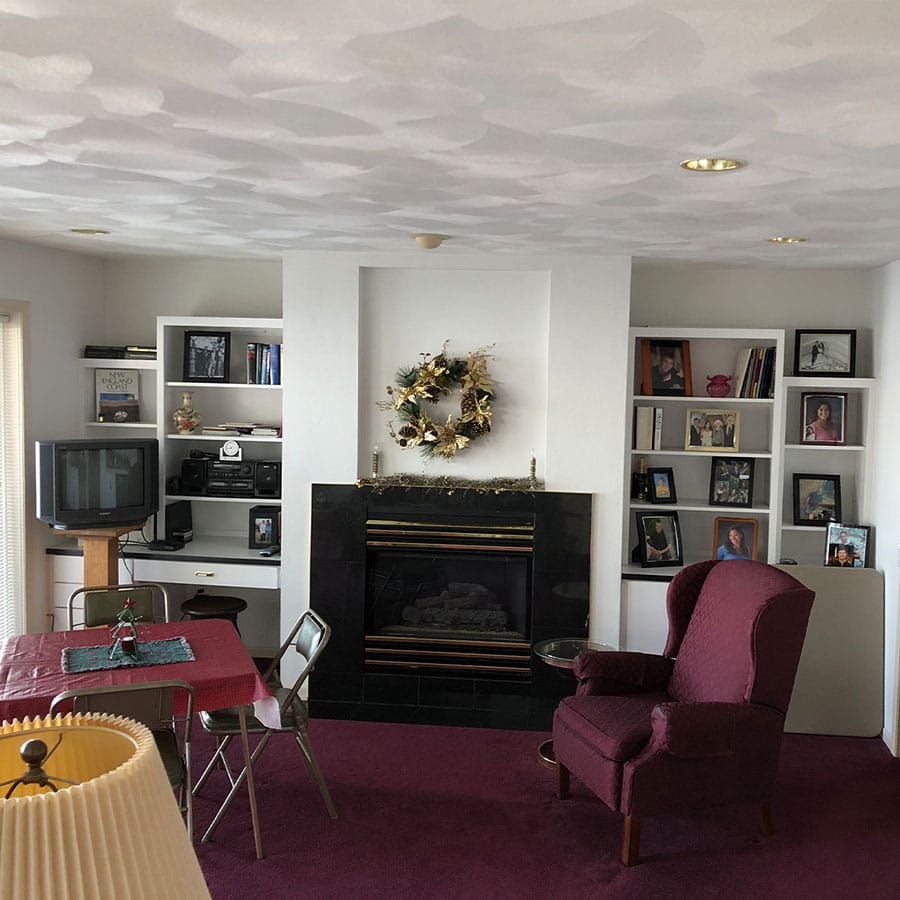
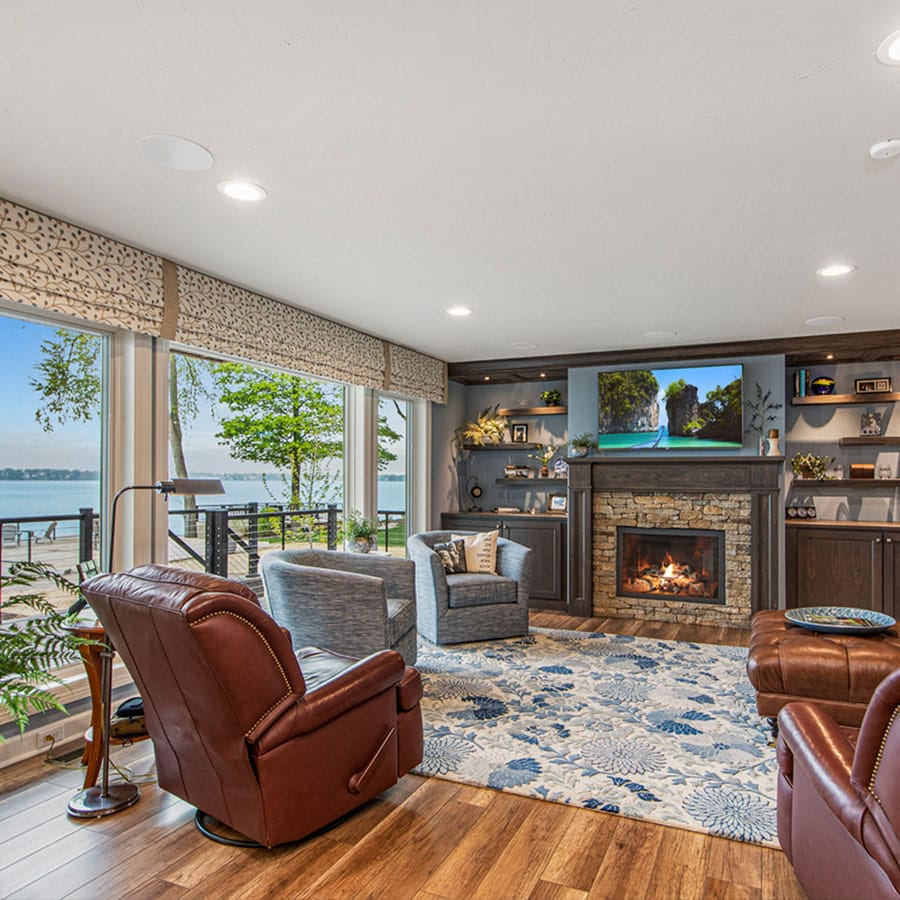
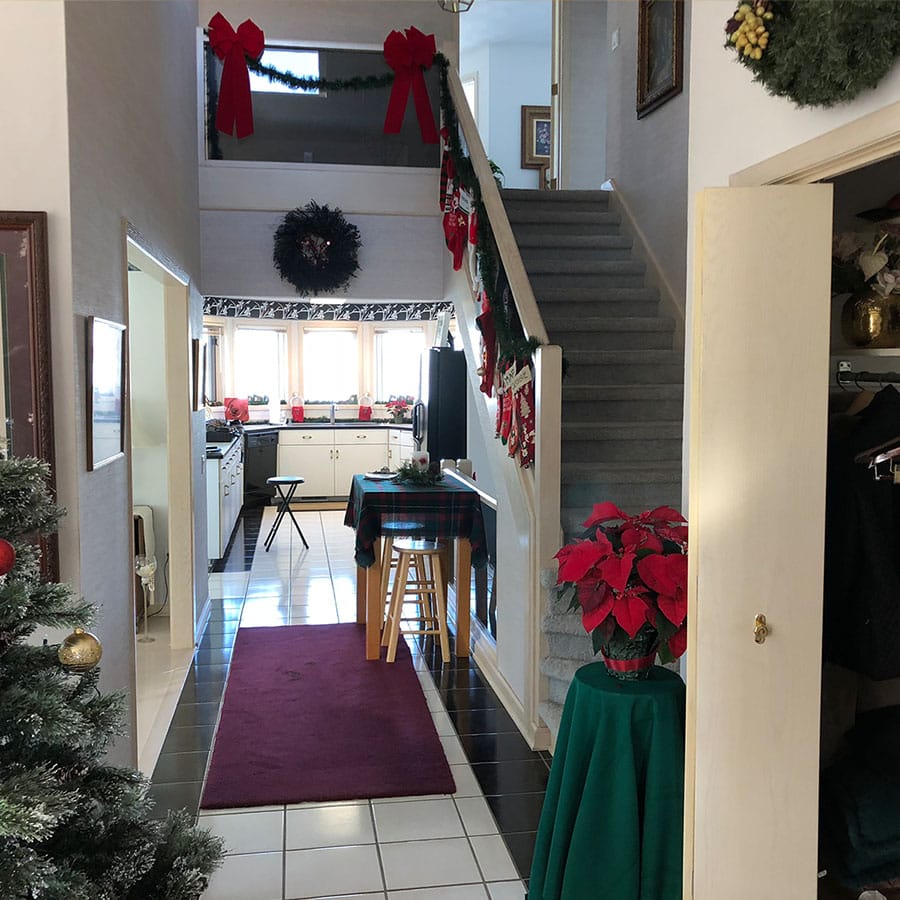
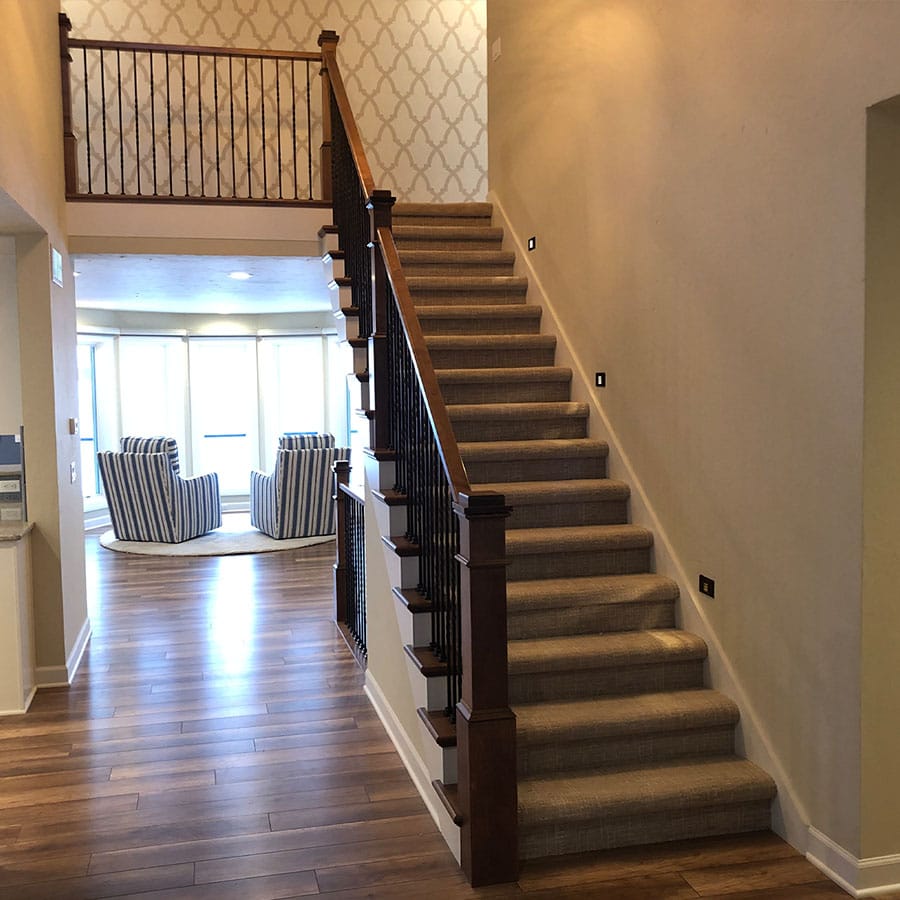
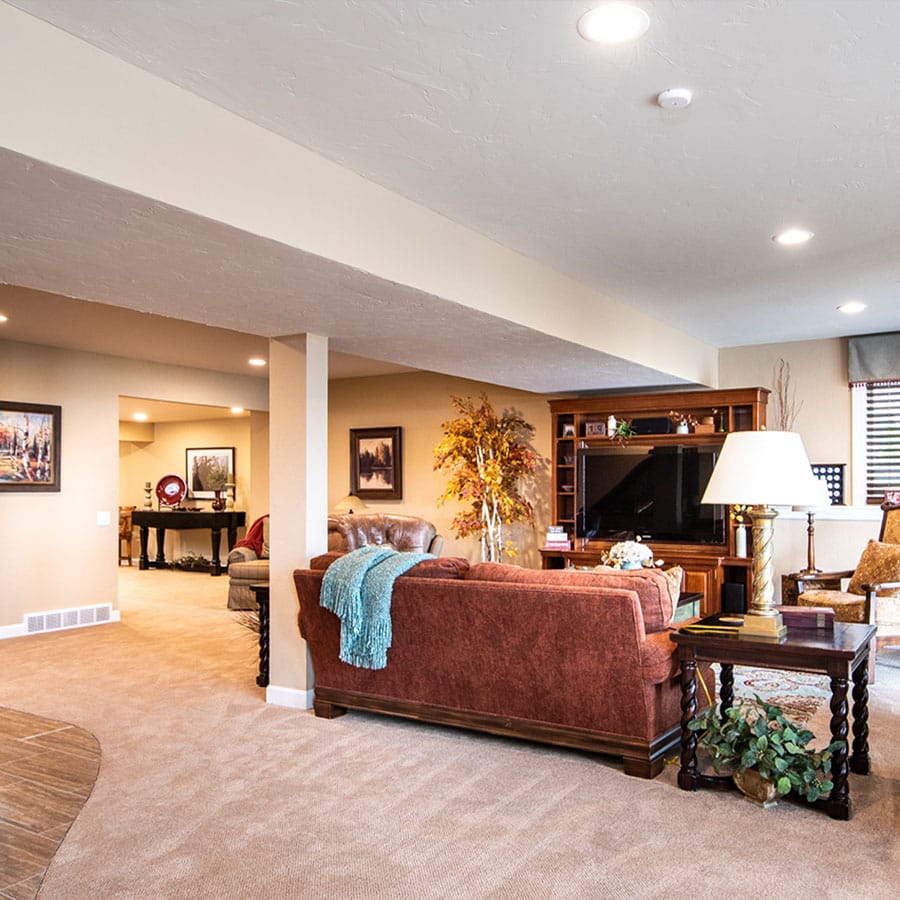
The Living Room
The Living Room was enlarged by removing the partition wall between it and the kitchen. This provides a clear unobstructed view from the dining room to the living room. With the removal of the mudroom and powder room doors as well as the wet bar, an additional three feet was gained in the width of the room as well as additional seating options including room for a couch. The built-in area was elegantly refreshed with a paneled ceiling, floating wood shelves with glass inserts, built-in cabinets, and a new mantle showcasing the new gas insert and stonework. With the additional added room, the natural symmetry of the original layout was now disrupted. A custom wine rack, additional floating shelves, and a wine cooler created a separating line, which helped to balance this new space as well as protect the original symmetry of the room. Repositioned dimmable LED recessed lighting helps to properly light the room while accent lighting in the paneled ceiling above the built-ins trickles down through the glass inserts of the shelving pleasantly illuminating the shelf knick-knacks and decorations.
Before
After
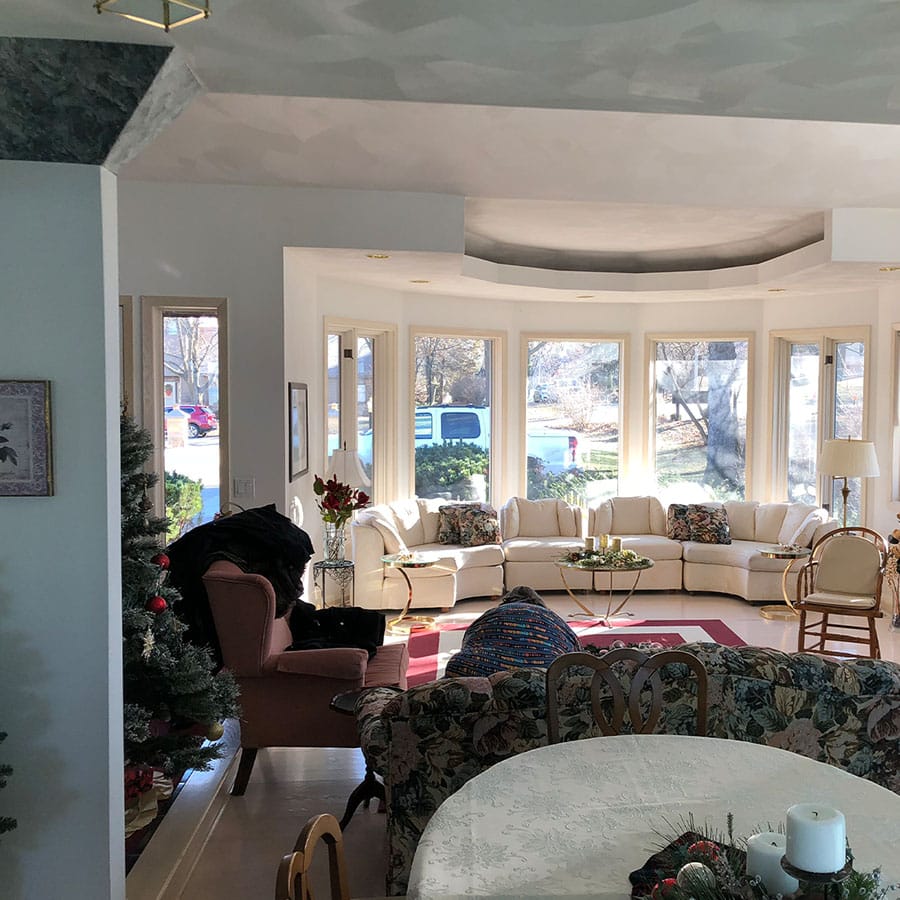
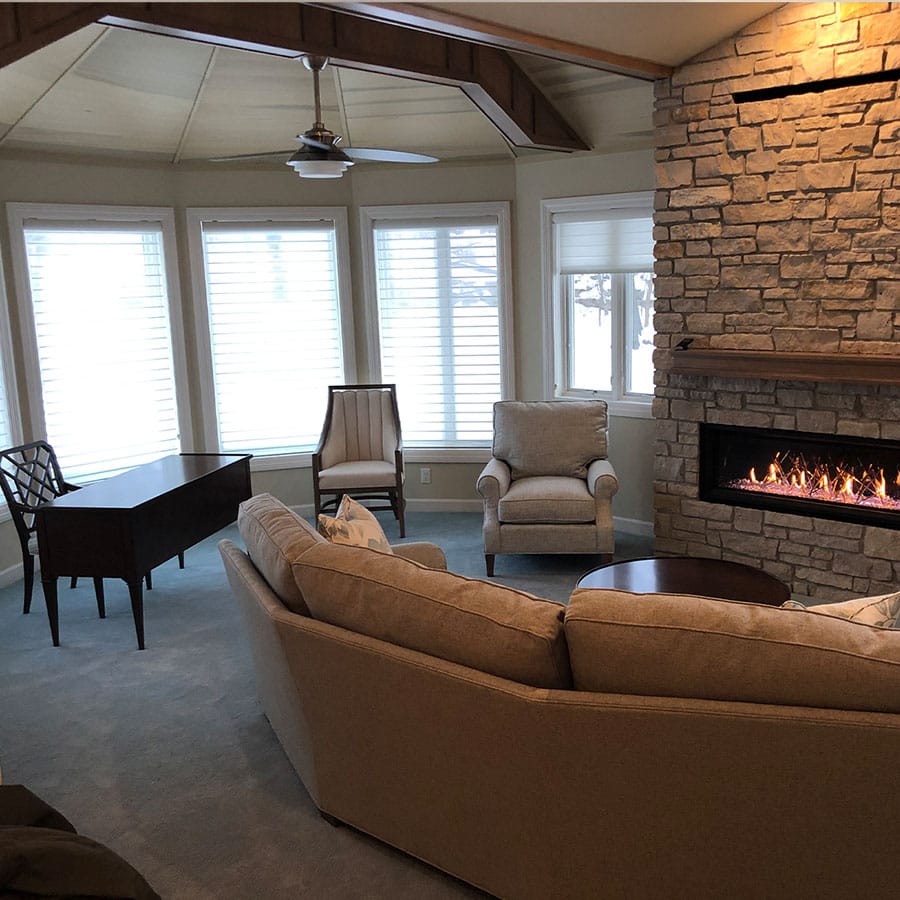
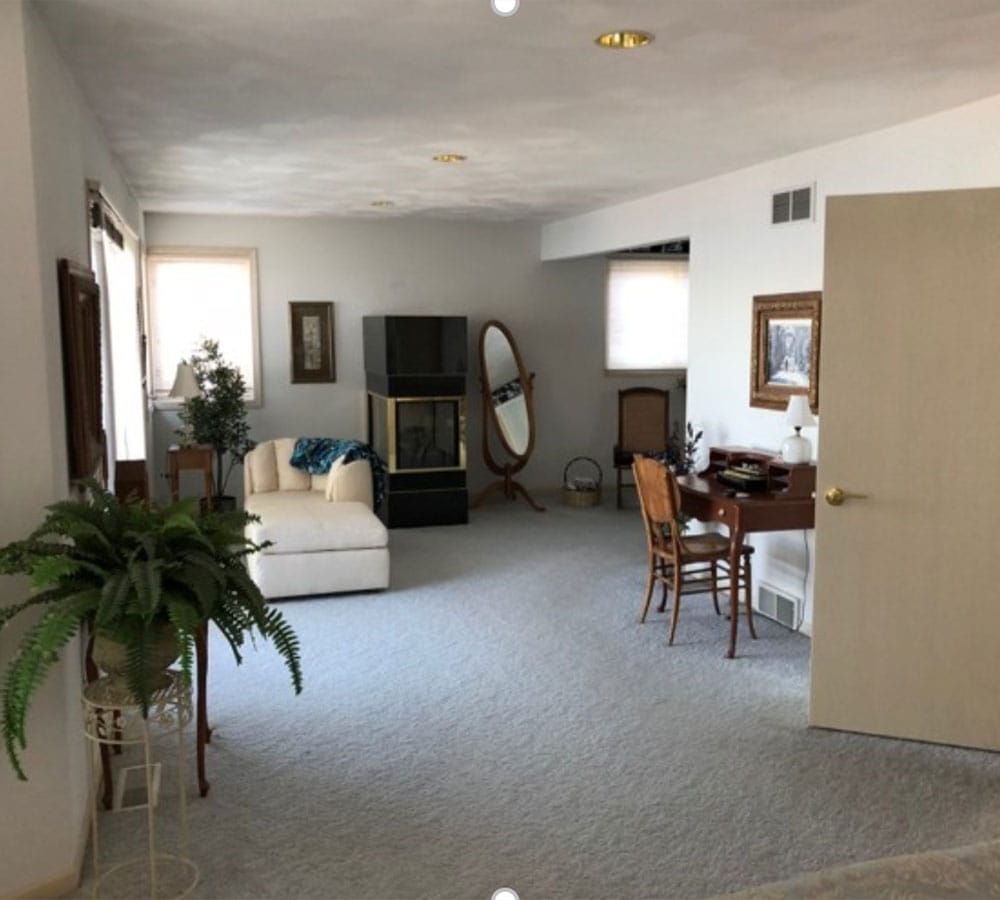
Front Living Room
The homeowners were looking for a private study area that was separated from the rest of the house. The existing front living room was a perfect candidate for such a space. With relocating the kitchen to the old formal dining room location, that meant closing off the opening to the front living room. This created a natural and private separation from the rest of the house. The homeowners chose to eliminate the tray ceiling in the turret and add a vaulted tongue and groove ceiling as well as add the stone fireplace surround to the new gas insert. Adding carpet to this location added to the coziness and quietness of the area. Although this room is separated from the rest of the house, the stained mantle and stained accent beam match the rest of the stained woodwork in the house to help tie this room together as you go from room to room.
Before
After
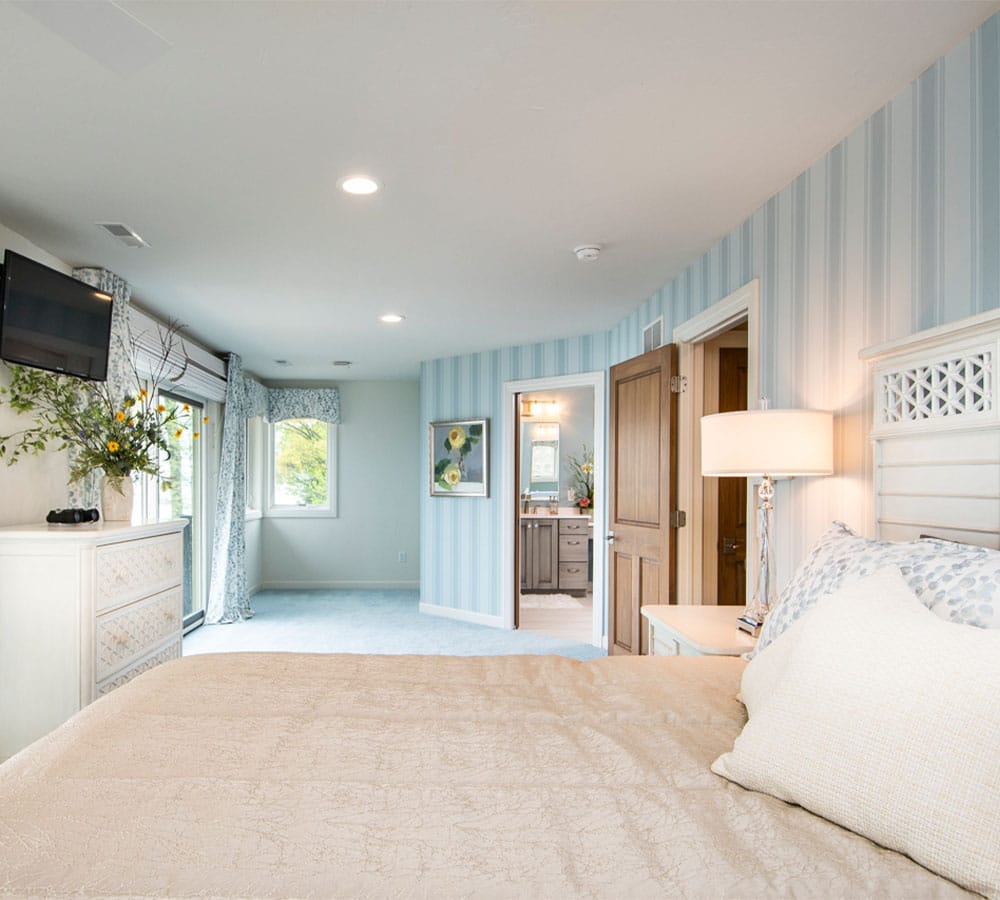
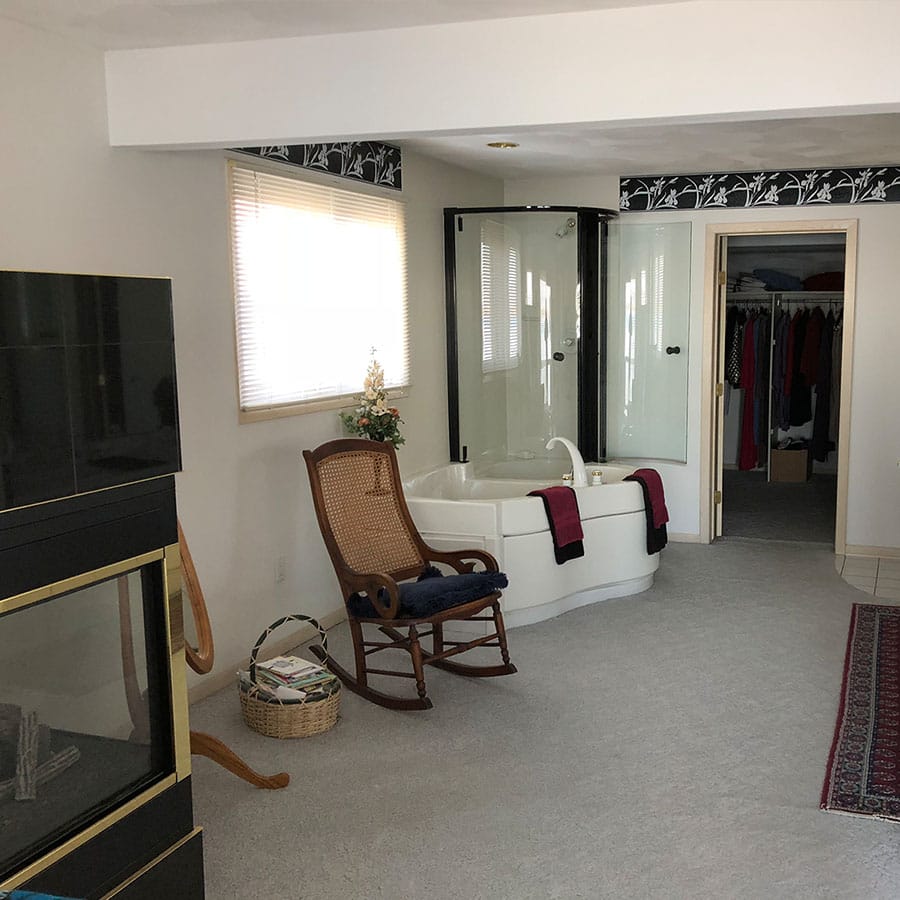
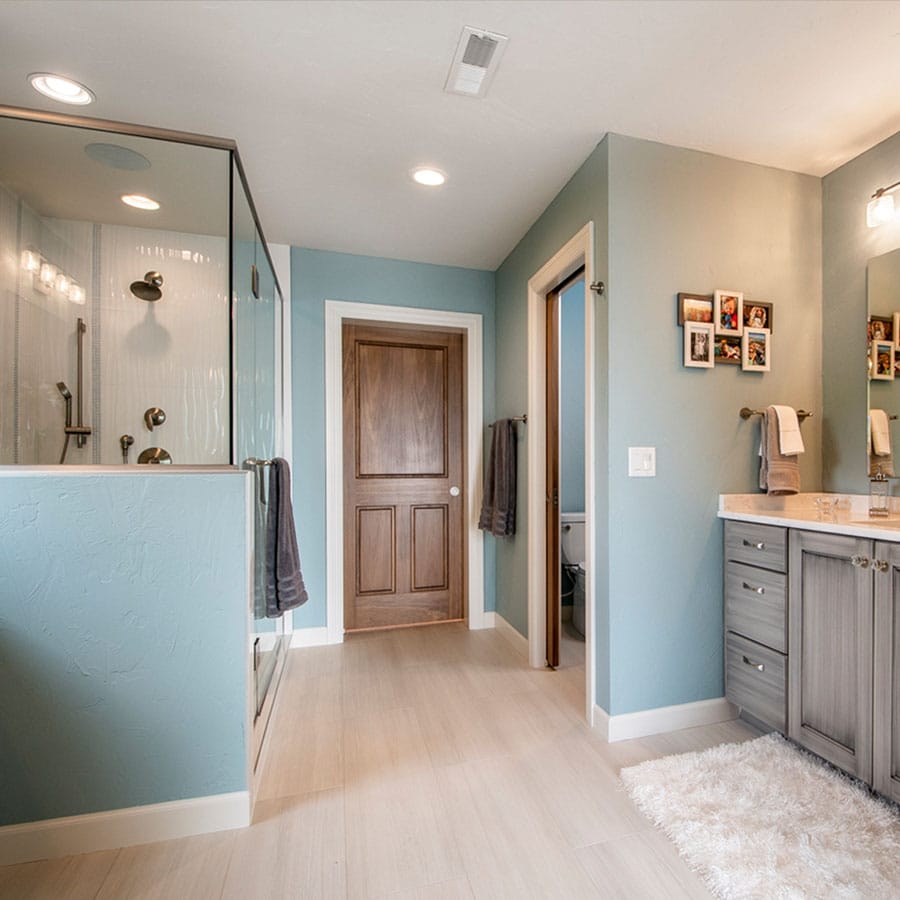
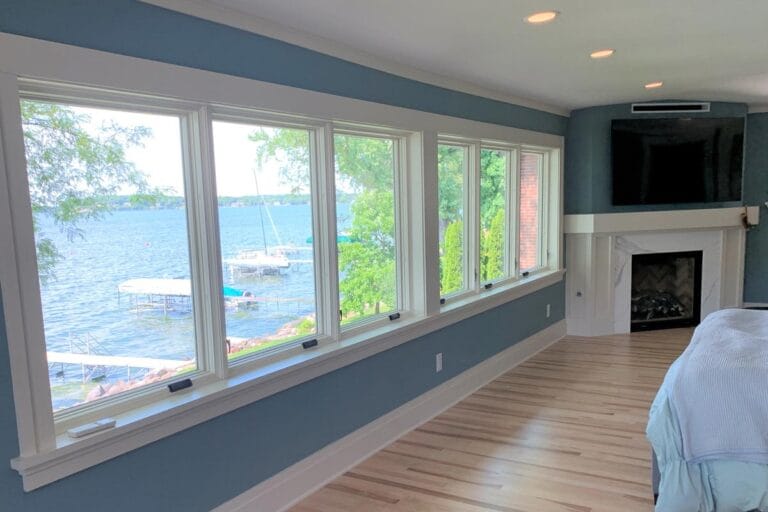
Master Bedroom
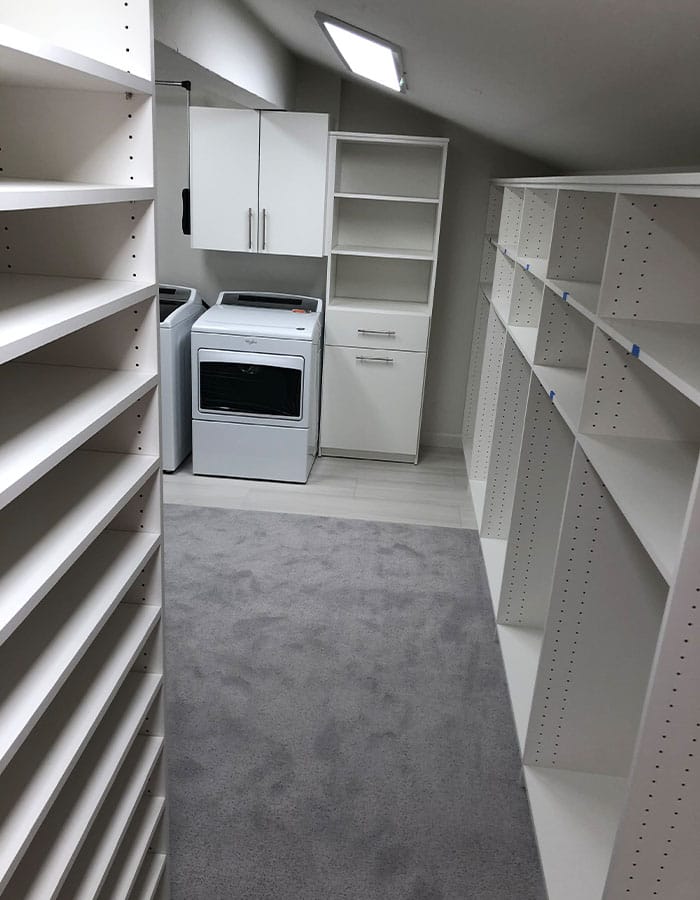
Although the location of the master bath and master bedroom stayed the same, the original floor plan did not have a separating wall between the bedroom and bathroom. This posed an issue for our homeowners and asked if we could partition it off. The dated fireplace was completely removed, and a new wall was constructed in its place with a pocket door, as not to take up any additional useable space from the bathroom, delivering a much more private space. With the removal of the laundry on the main level, our homeowners chose to move the laundry to the second level. The space that allowed for this move was the master closet located in the bathroom. They had more than enough space in the closet, but noise was a concern, mainly if they chose to throw that last load of laundry in the dryer before going to bed. The entire bathroom was insulated to remedy this noise. In addition, the bathroom separates the two rooms making this noise virtually disappear.
Before
After
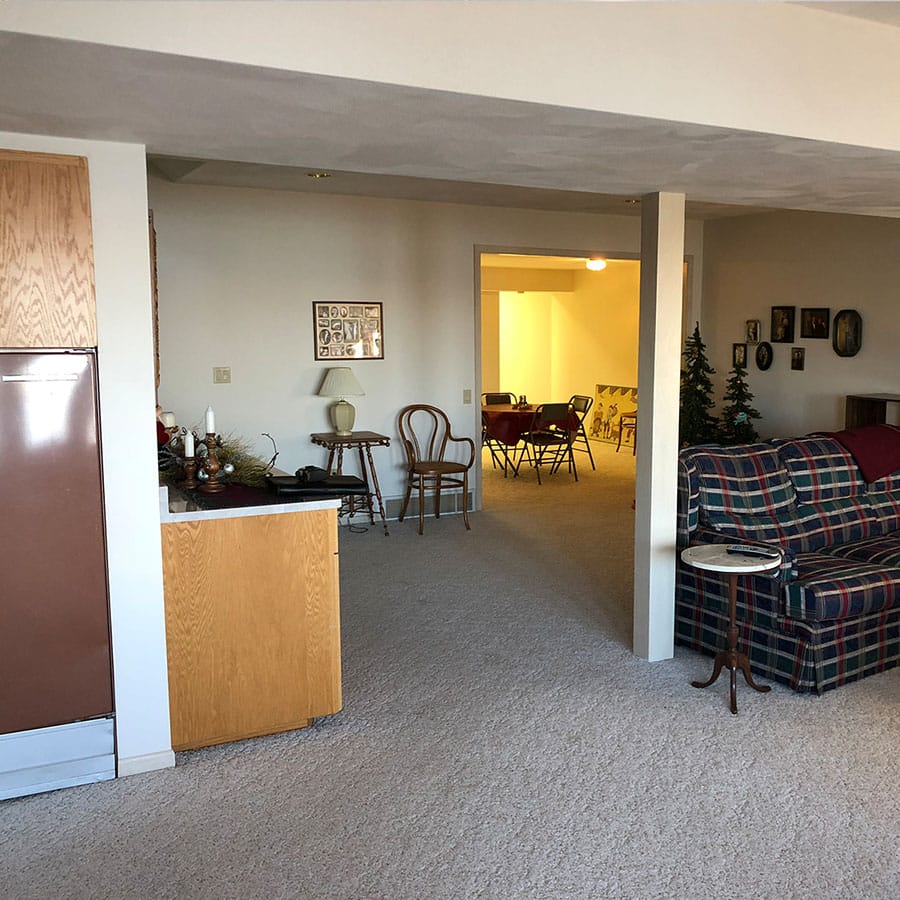
Understanding that many people wouldn’t choose to have a laundry on the second level of their home, much less in their master suite, the homeowners decided to install a secondary hookup in their mechanical room in the lower level. This also gave them the flexibility of adding a second washer and dryer in their lower-level guest suit if they ever were to have guests for a long extended stay, or it gives future homeowners the choice to move the laundry.
Before
After
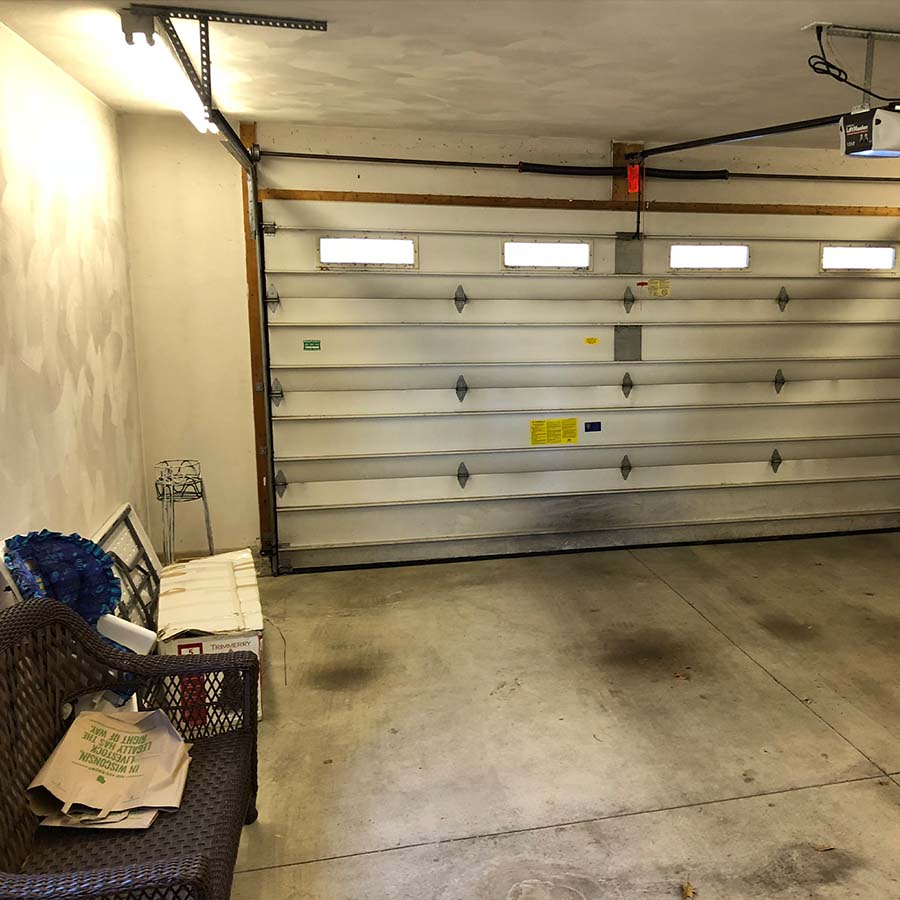
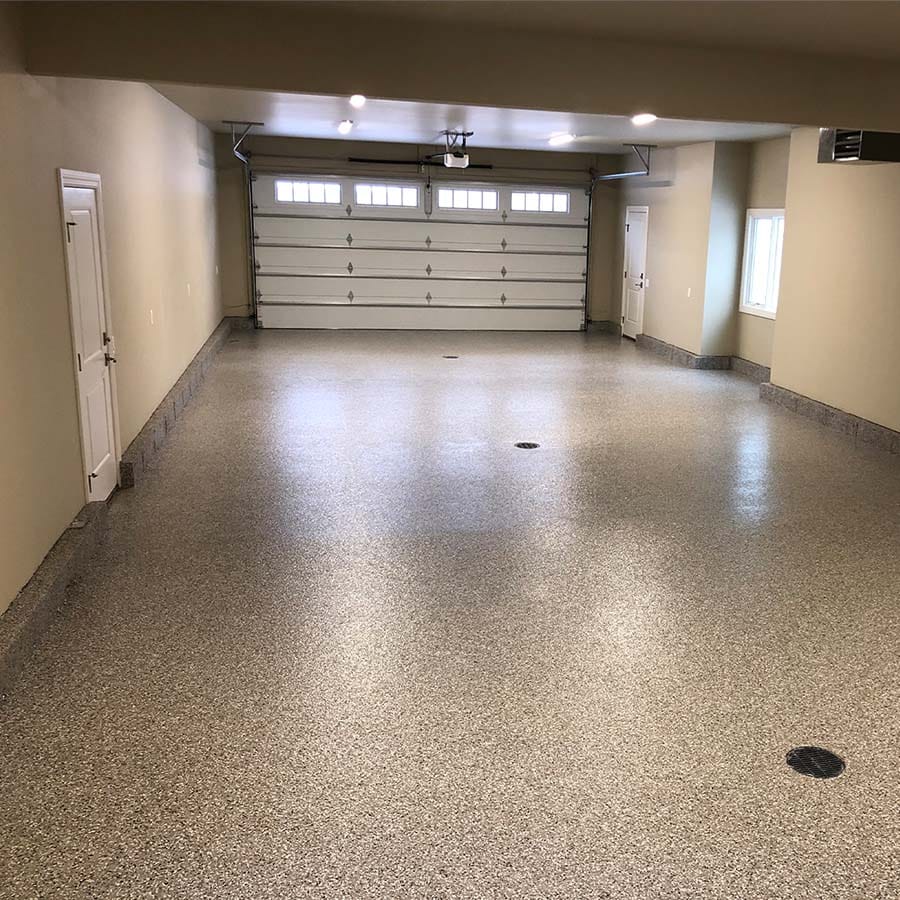
Garage
The last area of the home with a major transformation to its floor plan was the garage. The original two-car garage was cramped, dingy, and cold. It worked well for parking vehicles, but that was about it. Our homeowners were looking for much more space, as well as a heated space that could still be utilized in the winter. The addition created enough space to park four cars as well as have a shop area towards the front of the garage. An added benefit to this homeowner with the elongated design was the fact he could fully back his boat into the garage without unhooking it. The new floor drains ensured that the water that would melt off the vehicles with having a gas heater in the garage would quickly and cleanly drain away. The epoxy flooring would ensure easy cleaning and help to eliminate the grease stains that persisted in the original garage.
Before
After
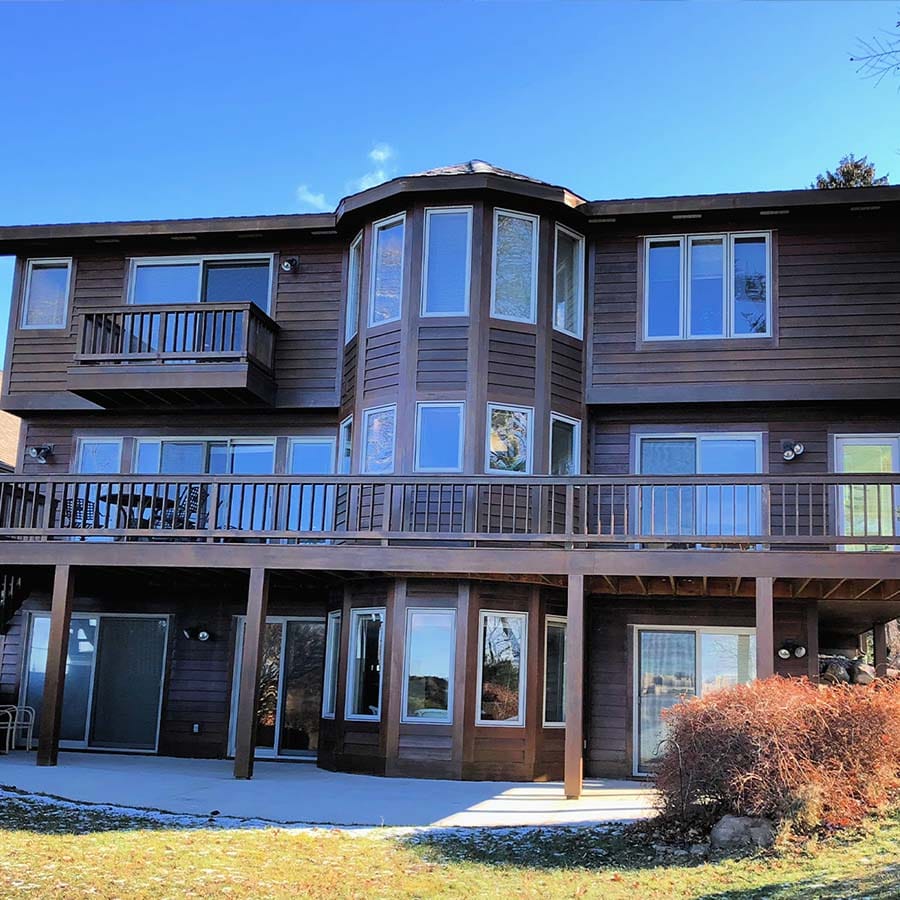
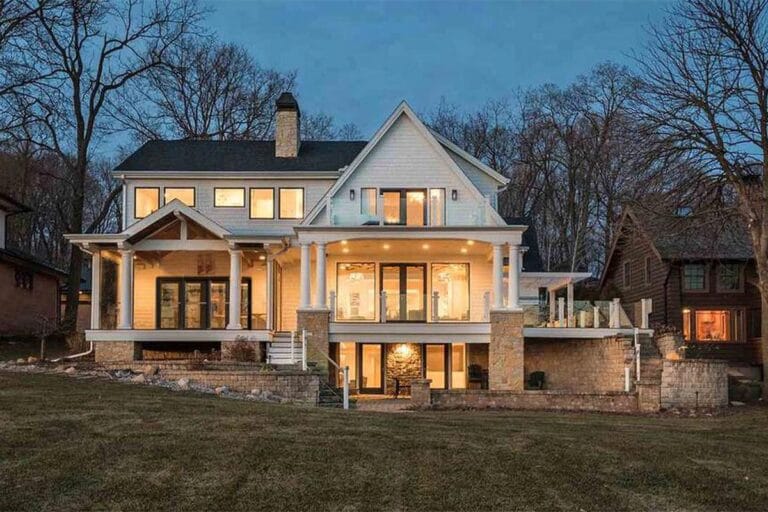
Exterior
Like mentioned last month, the exterior was a huge challenge to overcome. The windows and doors were installed improperly when the house was initially built, and there was a large amount of water damage and rot that needed to be replaced. The largest concentration of the damage was the rear turret, where the majority of the turret was reframed. The remaining exterior was received new windows and doors, new siding and stone, new decking and railing, and a roof with the insulation being sprayed in the majority of the house from the inside.
Before
After
Completed Project
This remodel was one for the books. It had more than its fair share of obstacles to overcome; however, they weren’t too much to handle. Our team can take on the toughest challenges and create the smartest solutions for any project.
Before
After
Before
After
Before
After
Considering a Renovation? Simon Builders can help!
Here are some questions to ask yourself before you begin thinking about the redesign process.
What is my budget? Can I achieve the design I want? What are my goals for this redesign? Who do I call for help?
The last question is easy enough- our design and sales team will help you find the right look and quality products to transform your home. We have the years of experience to guide you through the process from start to finish! Contact us today to get started.