
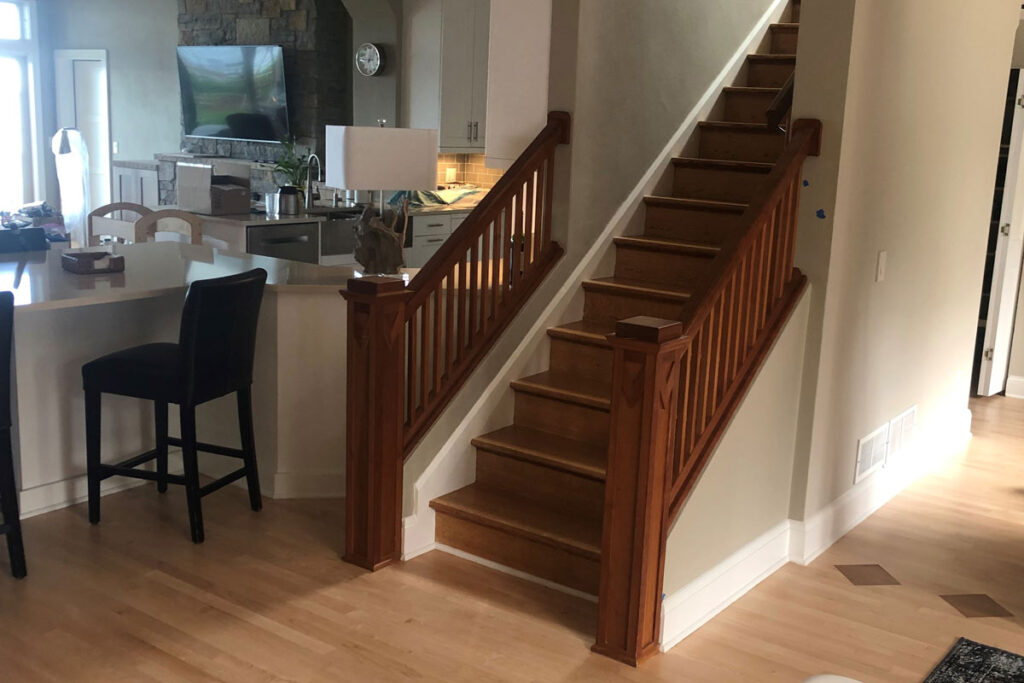
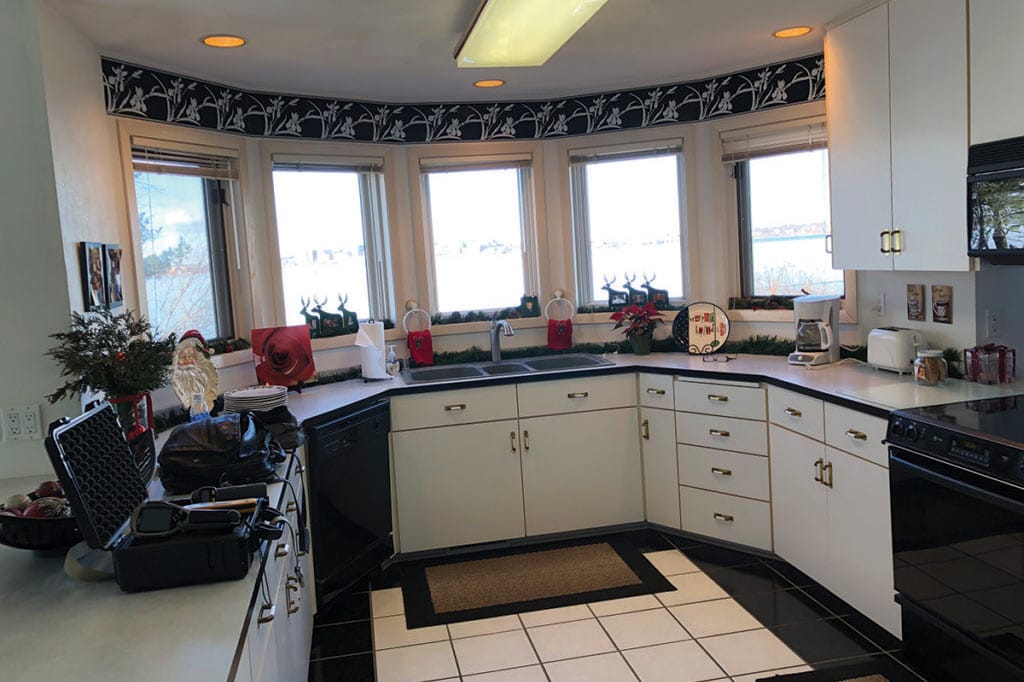
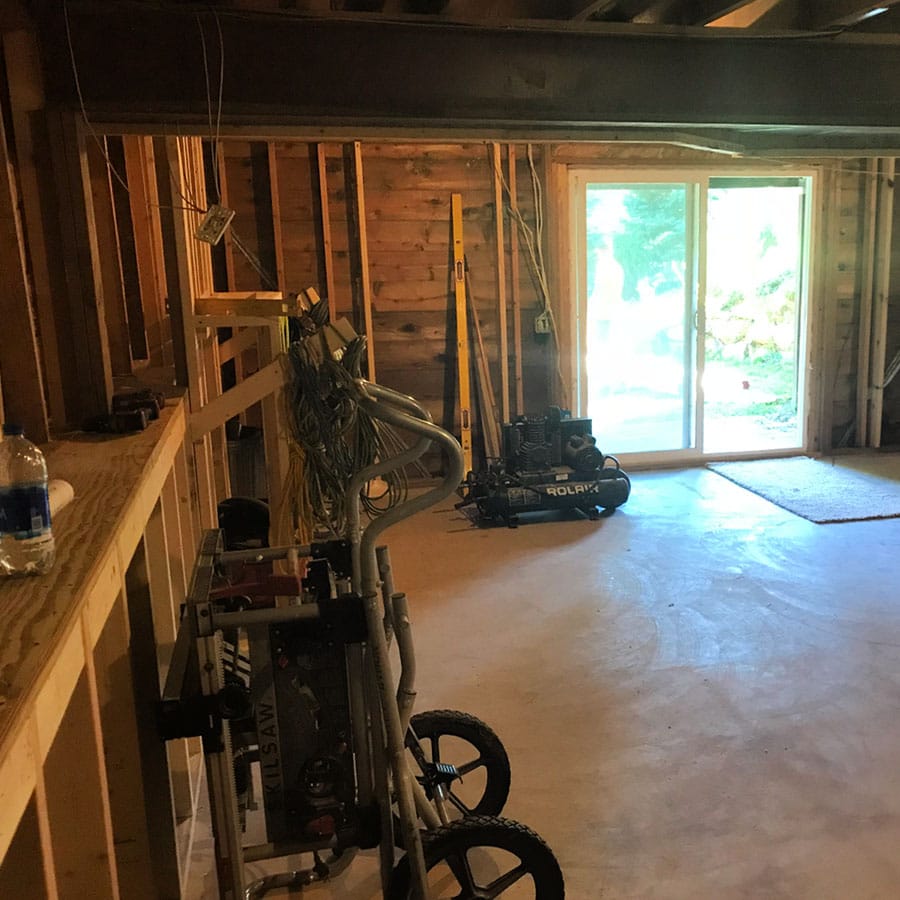
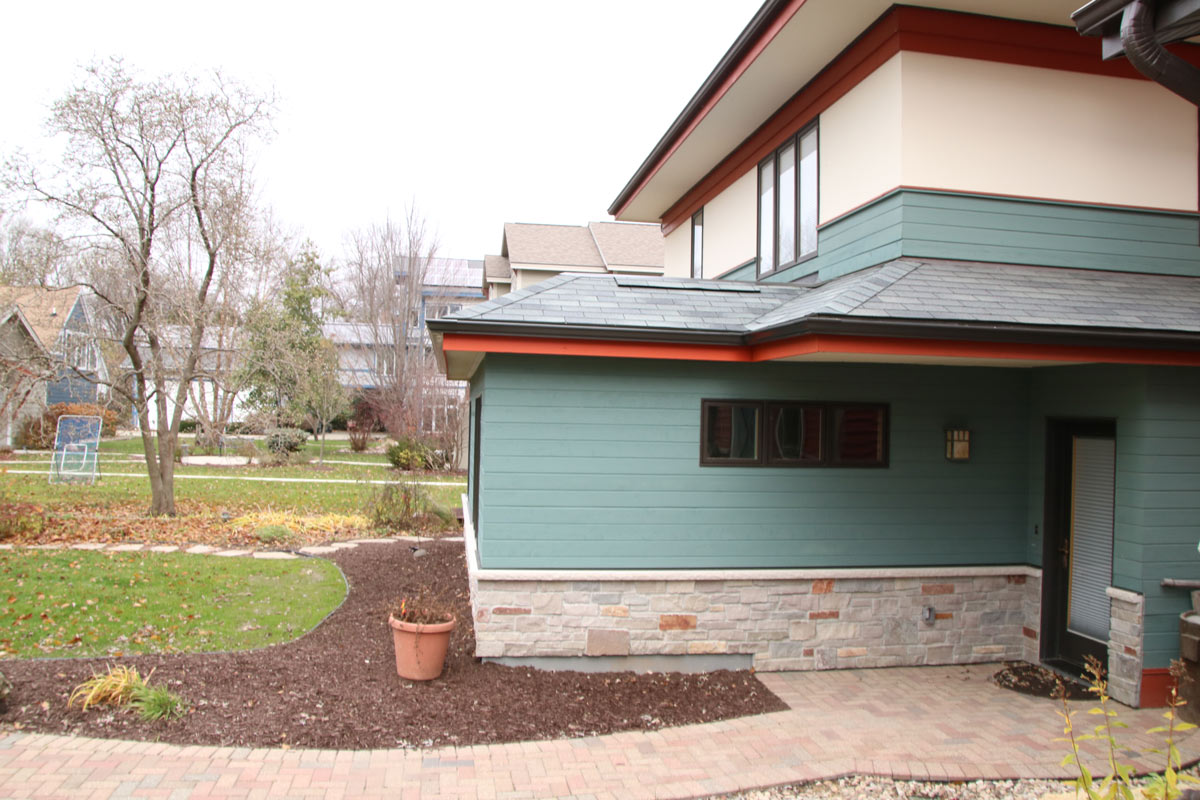
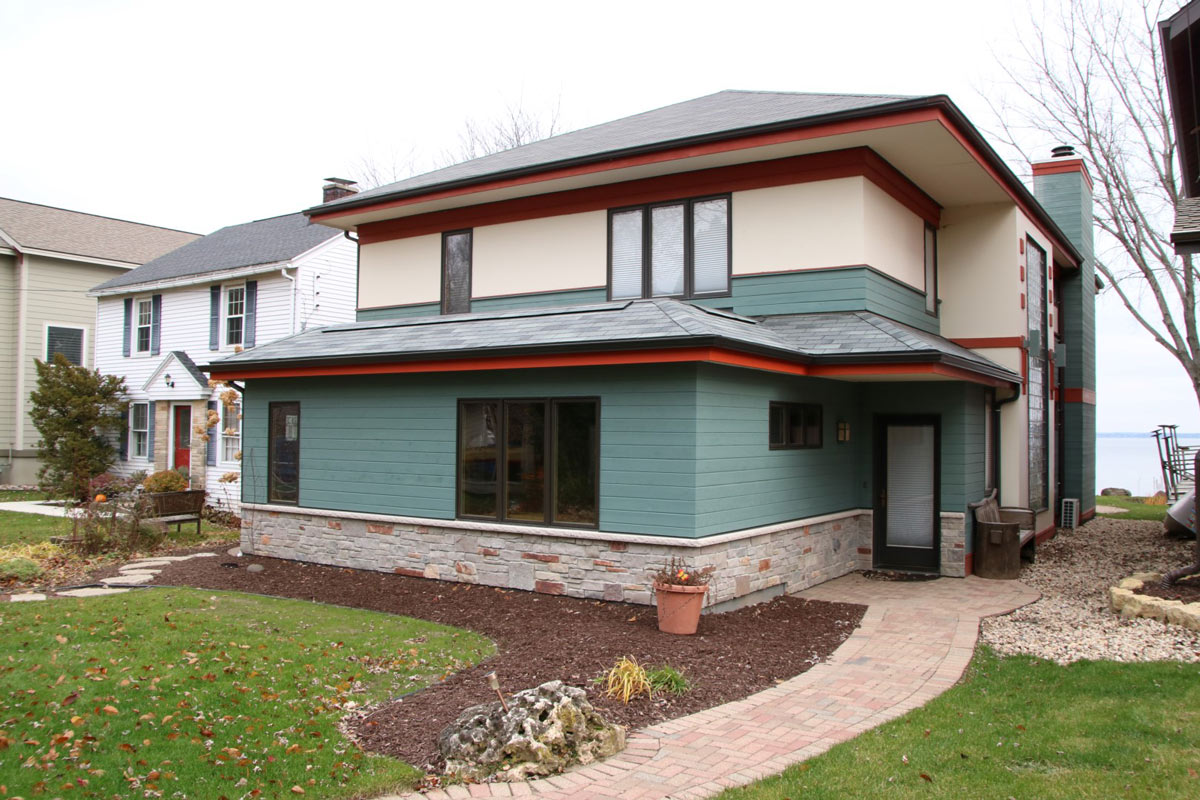
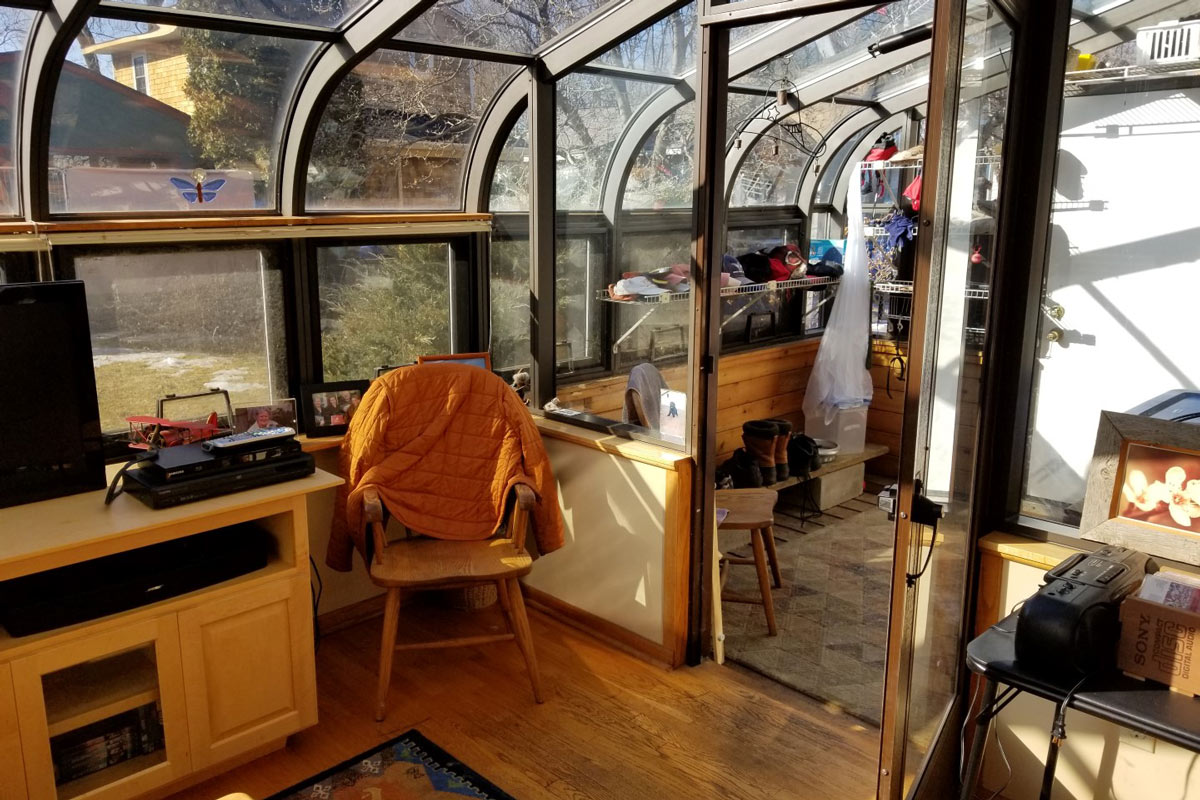
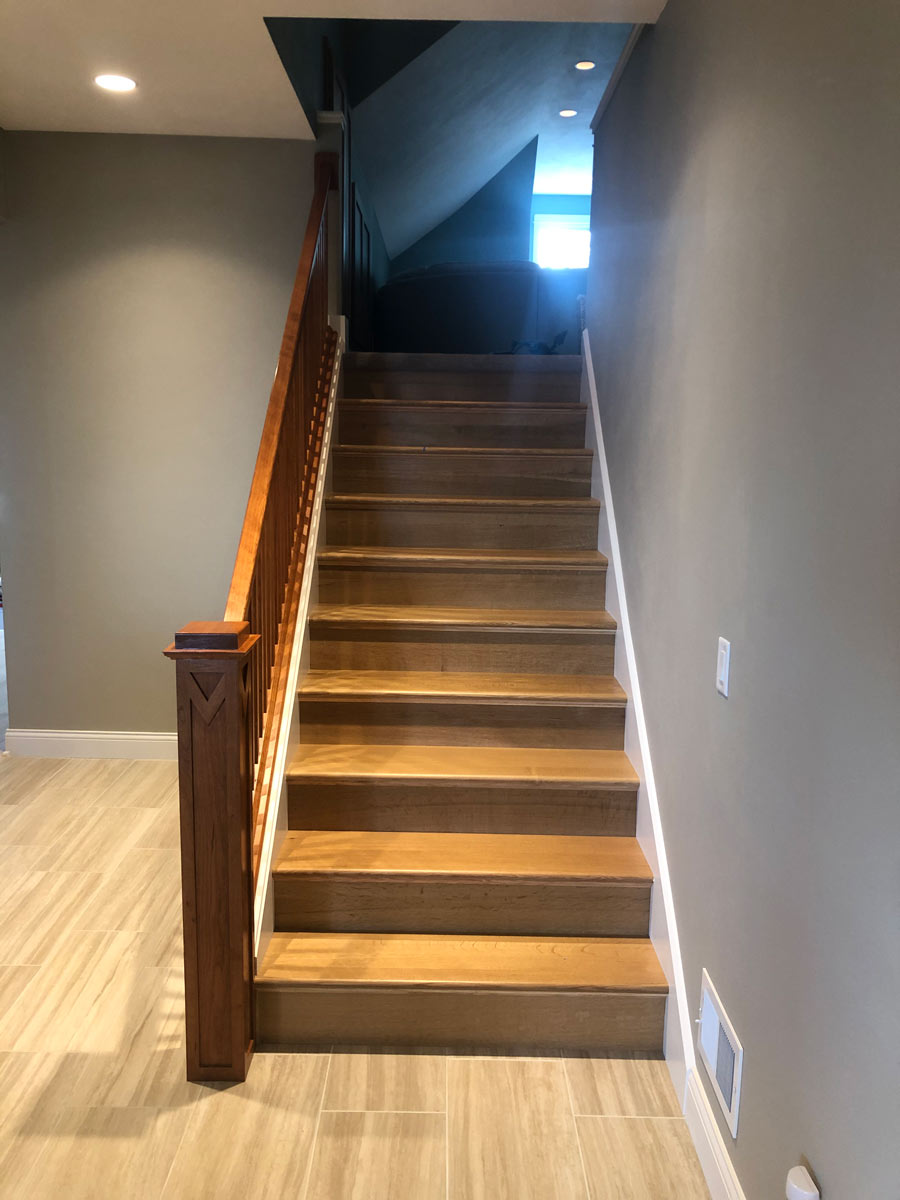
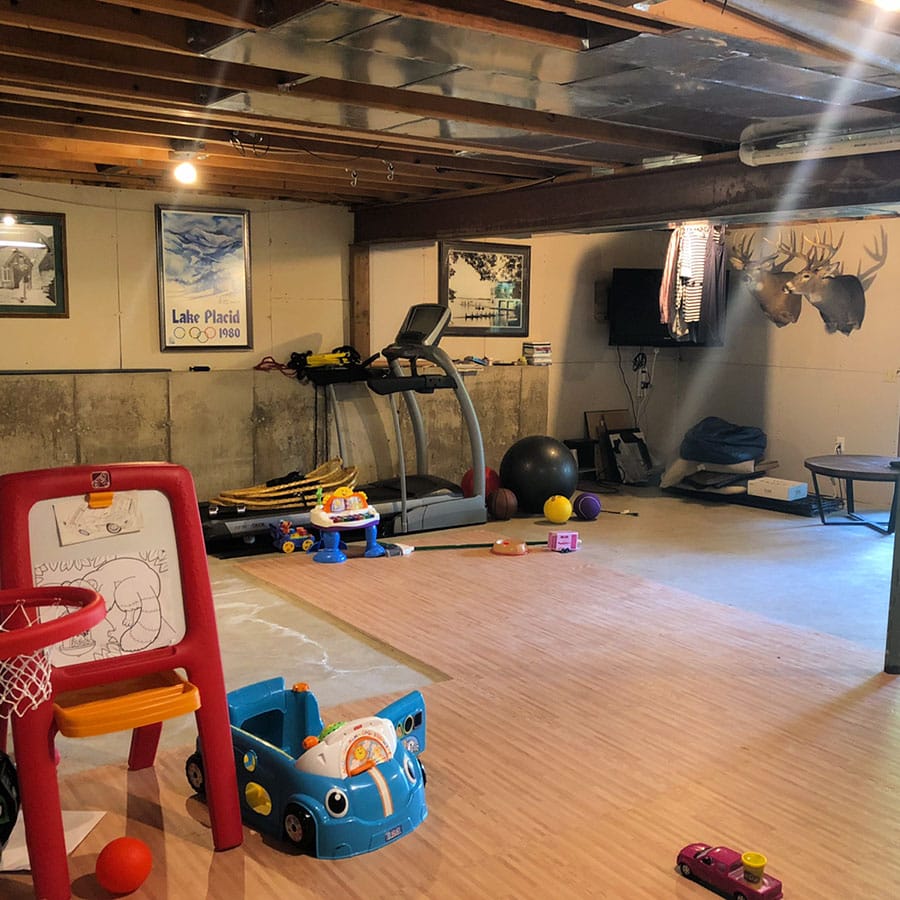
This month’s featured project consists of a specific element from a larger remodel that we have recently completed. This project included an addition onto an older lake home that had many of the original finishes in place. One of these finishes was the original staircase that welcomes you as you enter the front door.
The staircases’ simplicity adds to its elegance and it is a characteristic that the homeowners fell in love with when buying the home. Their proposed addition included a new staircase in another part of the home. The homeowners wanted to know if it was possible to closely match the look and style of the original staircase when building the new one.
Matching the Original Staircase
The golden rule when remodeling is the new parts should look like it could have always been there.
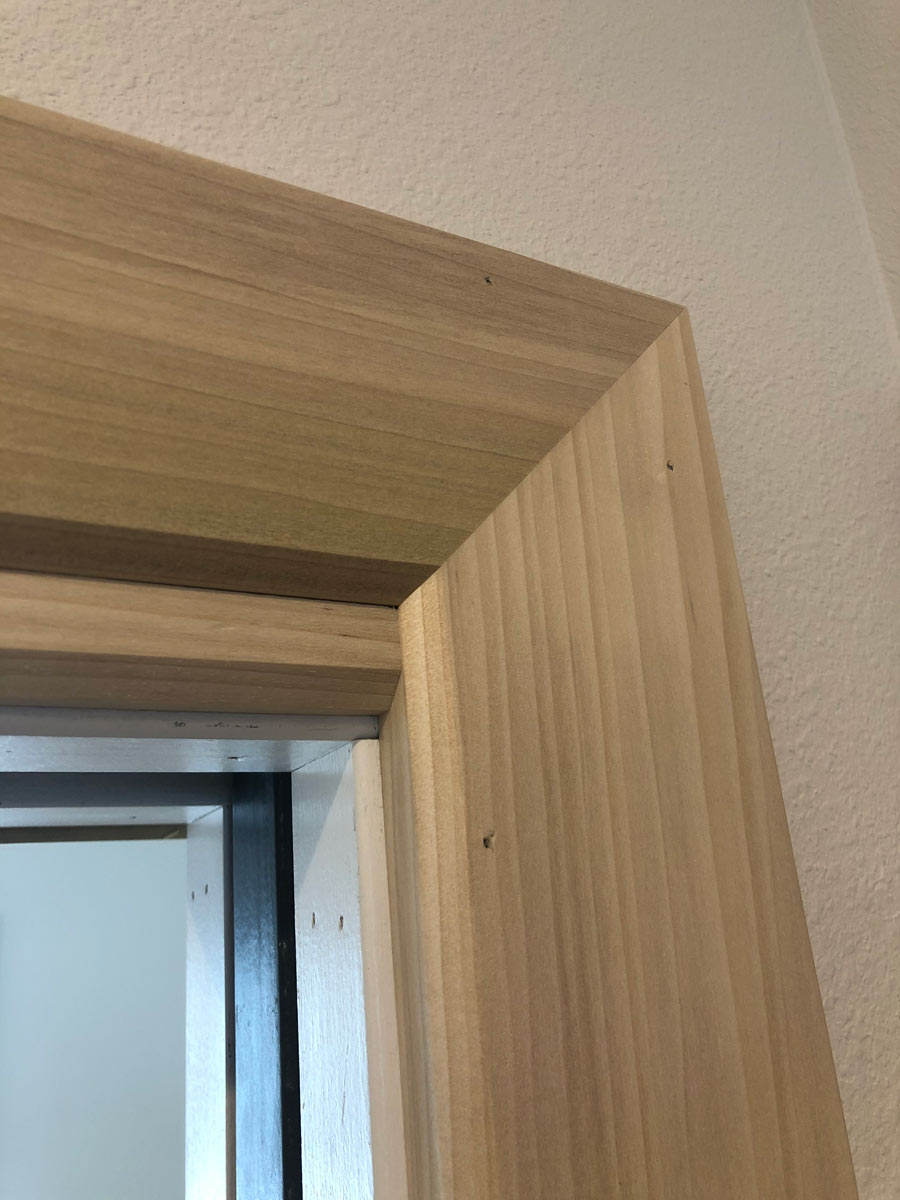
How is this done? Fortunately, Michael F. Simon Builders is one of the most experienced home remodelers in the area. We can guide you through this process and build a home addition that blends seamlessly with your current home.
The process starts with a conversation with the homeowner:
- Are you looking for an exact match?
- Do you like the distressed look of the original?
- Is there anything that you don’t like about the staircase?
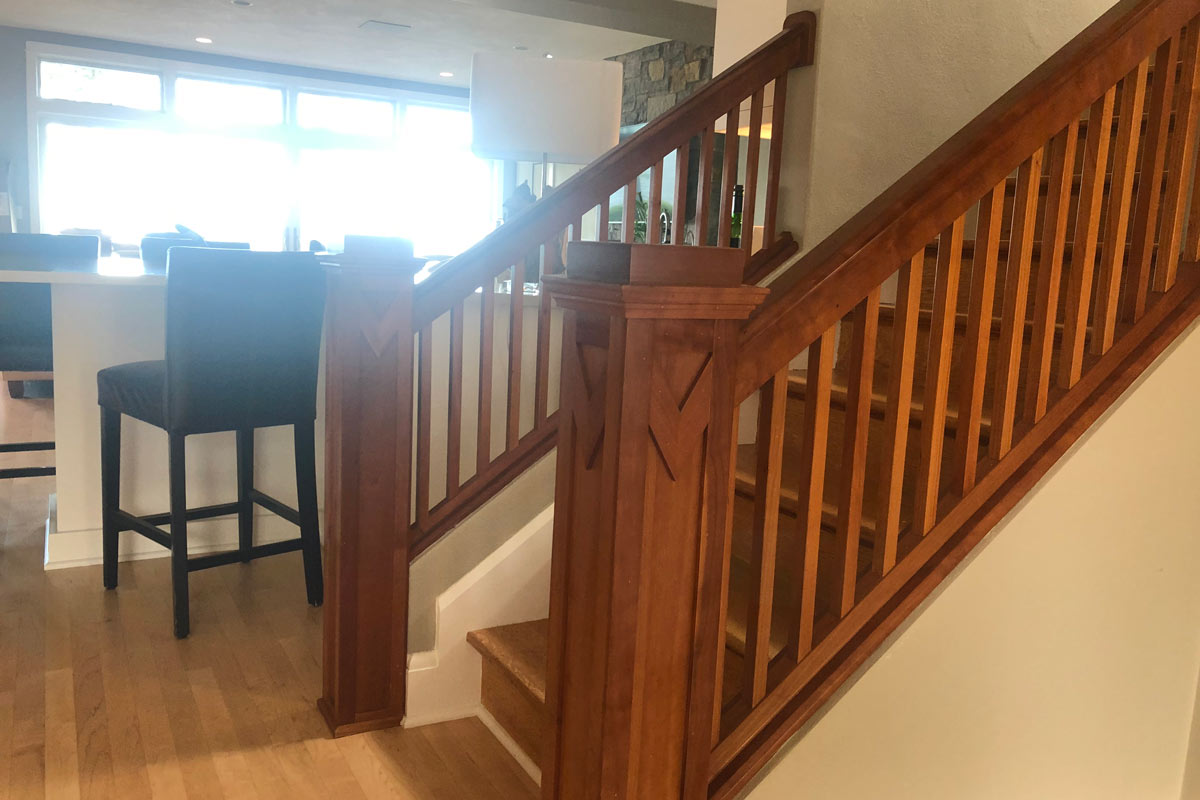
In this case, the important things from the homewonwer’s perspective were matching the proportions, the type of wood, and the color. They wanted the new staircase to be nice and crisp, look new, but still match characteristics of the original. We achieved just that!
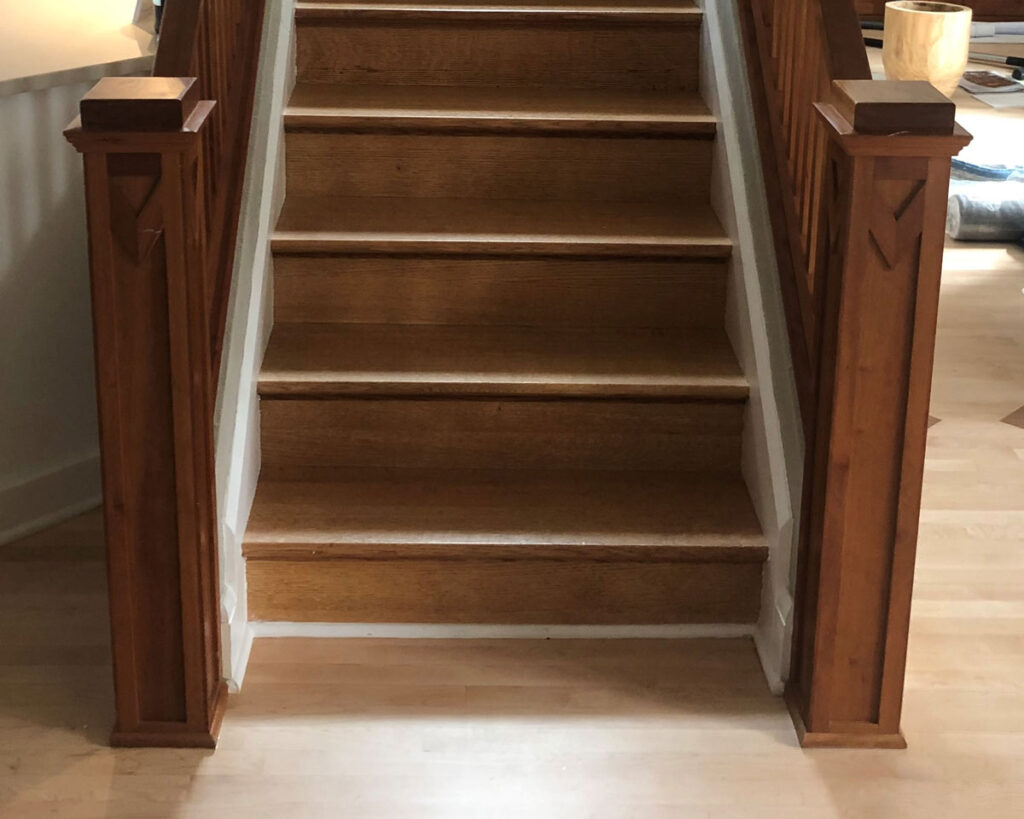
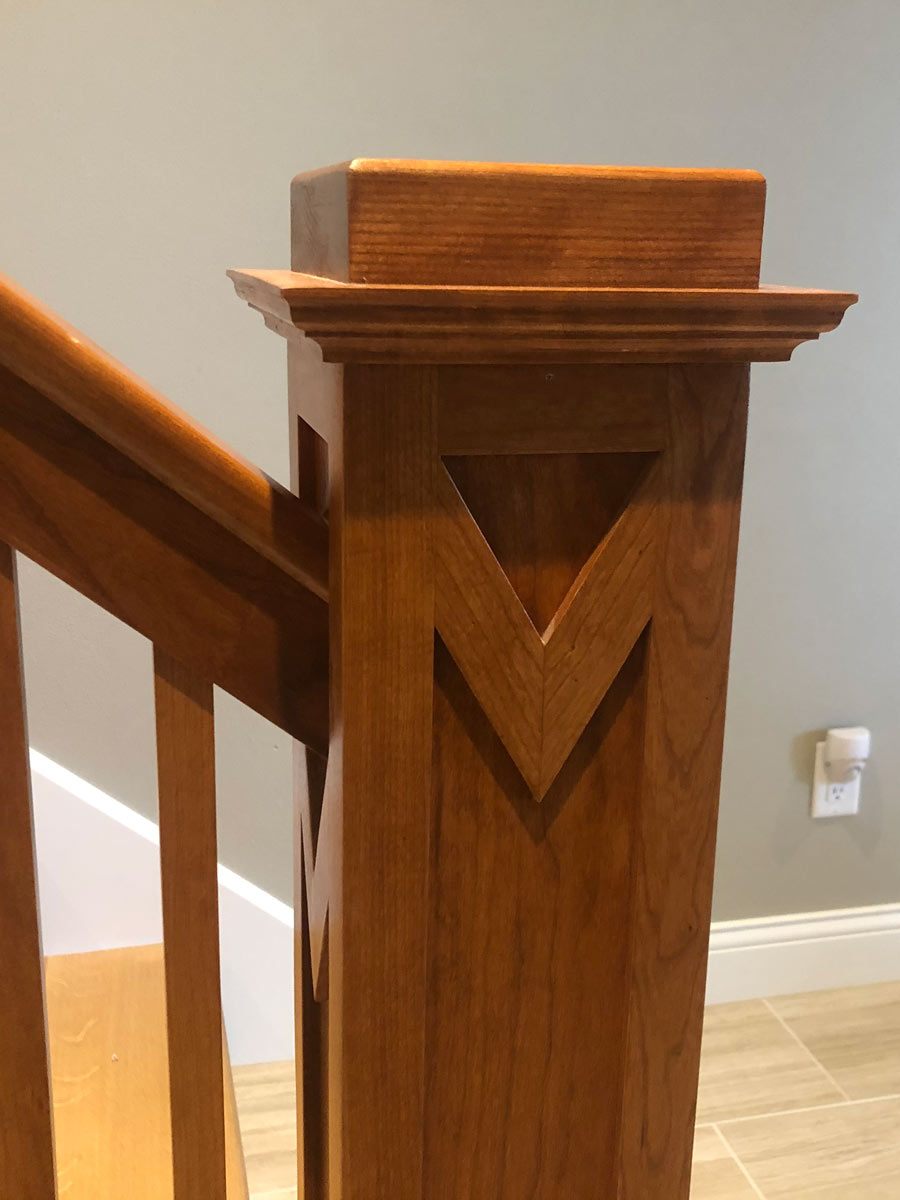
Upon inspection of the original staircase, we concluded the railings and newel post were constructed of Cherry, the treads were White Oak, and the skirt boards were paint grade Poplar.
After identifying the materials, two challenges presented themselves.
- There were no commercial available posts that were an exact match to the original posts.
- Finding an exact stain match for the Cherry could prove difficult as Cherry naturally darkens with age.
The first issue is a common issue we enjoy tackling as our carpenters are skilled at fabricating custom parts when commercial parts are not available. A custom newel post was constructed, custom rails, caps, and balusters were milled, and new treads were carefully fit and installed. Each of the details of the original staircase were carefully measured and replicated.
The second issue involved one of our trusted trade partners to help us find the correct solution. Since Cherry naturally darkens over time, if we selected an exact stain match to the original Cherry parts and applied it to the new, the new staircase would look good for a while until it begins to darken itself. Our painter recommended to jump start that process with a few products before putting the final color to it. This way the staircase not only looks good now, but will match and look great for years to come!
After completion, our homeowners were very pleased with the final outcome!
Considering a home renovation? Simon Builders can help!
First, for any large renovation give us a call!
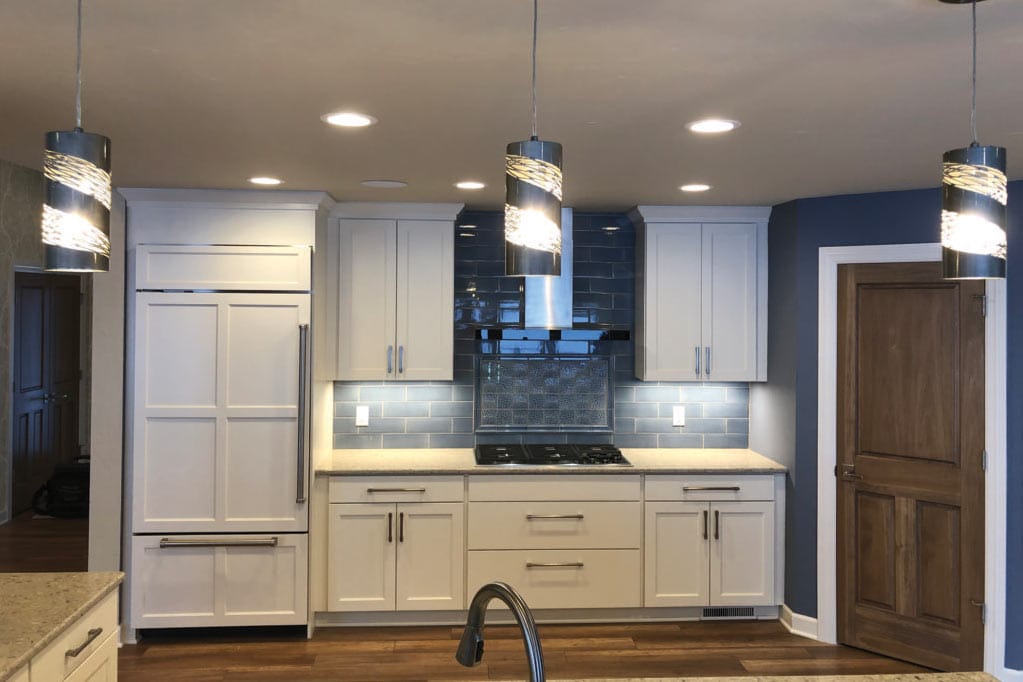
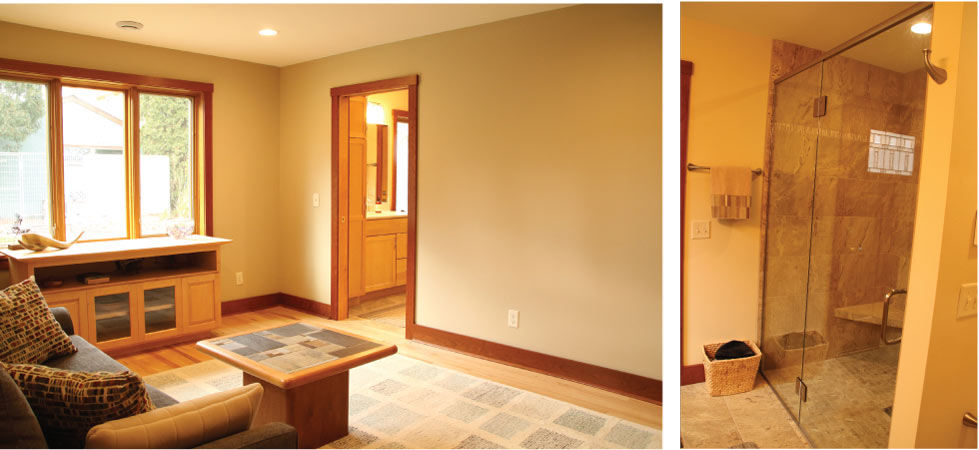
Next, whether you have a new property to fix up or want a big change in your current home, we are here to help! When thinking of a large-scale remodel you want to be sure your new space is cohesive and will be a space you will enjoy for years to come. The Michael F. Simon team has seen a great variety in style and design – and we love them all! We are happy to help you find the right look for your home. Every remodel starts with a conversation about what you need in your home and what you want in your home before we begin the pricing and design for your project.


